Table of Contents
1.Introduction: The Frustration of a Heavy Spa Cover
2.Understanding the "Why": How a Spa Cover Becomes Waterlogged
3.The Diagnosis: Key Signs Your Cover's Foam Core is Saturated
4.The Rescue Mission: A Step-by-Step Guide to Dry Out Hot Tub Cover Foam
5.The Point of No Return: When a Heavy Spa Cover Fix Means Replacement
6.Conclusion: Making the Right Choice for Your Spa and Your Wallet
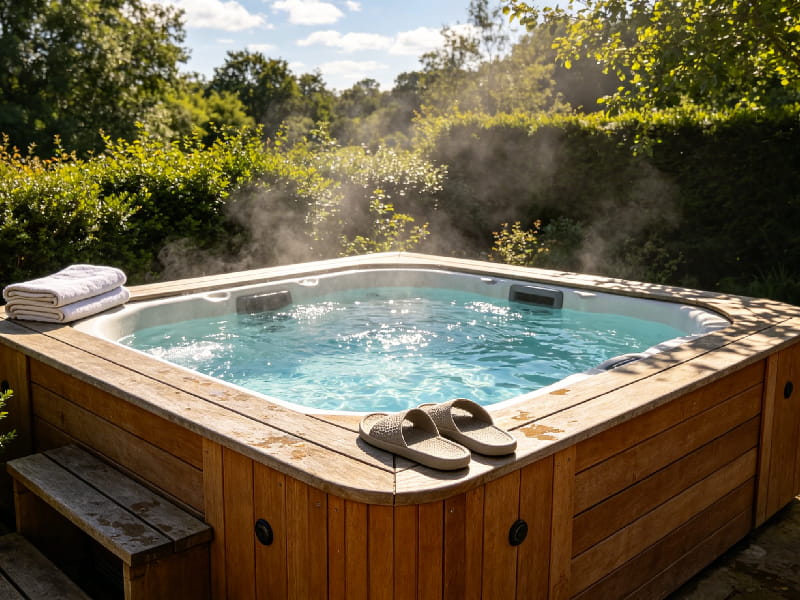
1.The Frustration of a Heavy Spa Cover
Remember the day you first used your hot tub? The cover was lightweight, easy to handle, and lifted off with minimal effort. But now, months or years later, that same cover feels like it’s made of solid concrete. What was once a simple, one-person task has become a two-person struggle, straining your back and the cover’s handles with every lift. If this sounds familiar, you're dealing with the classic case of a waterlogged hot tub cover.
This common issue goes beyond simple inconvenience. A heavy, saturated cover is a sign of internal failure, leading to decreased energy efficiency, potential structural damage to your spa, and a less enjoyable ownership experience.
This comprehensive guide will walk you through the science behind a waterlogged cover, help you diagnose the severity of the problem, and provide a detailed method for drying the foam cores. Most importantly, we'll provide the expert insight you need to determine when a heavy spa cover fix is possible and when it's time to invest in a replacement.
2.Understanding the "Why": How a Spa Cover Becomes Waterlogged
To understand how to fix the problem, you first need to understand its cause. A spa cover isn’t just a simple lid; it's a sophisticated piece of equipment designed for insulation. Its effectiveness hinges on its core components:
1.The Outer Jacket: This is the durable, weather-resistant vinyl you see on the outside. Its job is to protect the internal components from sun, rain, snow, and debris.
2.The Foam Cores: Inside the jacket are large, dense foam panels. These cores are the heart of the cover's insulation, trapping heat and preventing it from escaping the spa.
3.The Vapor Barrier: Each foam core is sealed within a thick plastic membrane. This is arguably the most critical component. Its sole purpose is to prevent water vapor from the hot tub from penetrating the porous foam.
The waterlogging process begins when this vapor barrier is compromised . The hot, chemically treated water in your spa constantly generates steam. This vapor pushes upward against the underside of the cover. Over time, or due to small manufacturing defects, tiny pinholes, tears, or seam failures can develop in the plastic barrier.
Once there's a breach, the relentless water vapor infiltrates the barrier and comes into contact with the foam core. As the vapor cools, it condenses back into liquid water, and the foam acts like a giant sponge, absorbing and trapping it. This process is slow but steady. Over months, the foam can absorb gallons of water, transforming your once-lightweight cover into an immovable slab .
External damage can accelerate this failure. Cracks or tears in the outer vinyl jacket allow rainwater and melted snow to seep in, which can also find its way to the foam cores if the inner vapor barrier is already compromised .

3.The Diagnosis: Key Signs Your Cover's Foam Core is Saturated
Before you attempt any repairs, you need to confirm that waterlogging is indeed the issue and assess its severity. Here are the definitive signs to look for:
l Extreme Weight Gain: This is the most obvious and undeniable symptom. If your cover has become progressively heavier and is now difficult or impossible for one person to lift, its foam cores are saturated with water . In severe cases, the sheer weight can cause the central seam or the handles to rip when you try to lift it .
l Sagging and Puddling: A healthy cover has a slight taper to shed water effectively. When the foam cores become waterlogged, their structural integrity weakens, causing them to bend and sag in the middle . This creates a bowl effect where rainwater and condensation pool on top of the cover instead of running off, adding even more weight and exacerbating the problem .
l Reduced Heat Retention and Higher Energy Bills: The primary function of your cover is insulation. Dry foam is filled with tiny air pockets that are excellent at trapping heat. When these pockets fill with water, the cover loses its insulating properties . Water is a poor insulator compared to air, so heat easily escapes through the saturated cover. You'll notice your spa's heater running more frequently to maintain temperature, resulting in a noticeable increase in your electricity consumption .
l A Persistent Musty Odor: When water becomes trapped inside the warm, dark environment of the foam core, it creates a perfect breeding ground for mold and mildew . This will produce a distinct, unpleasant musty or swampy smell that emanates from the cover, even if the vinyl exterior is clean .
l Visible Water Dripping: When you lift the cover, you may see water dripping from the seams or the underside. While some condensation is normal, a steady drip or stream of discolored water from the cover itself is a clear sign that the foam cores are oversaturated.

4.The Rescue Mission: A Step-by-Step Guide to Dry Out Hot Tub Cover Foam
If you've caught the issue early and the cover is only moderately heavy without signs of structural damage (like sagging or broken foam), you may be able to extend its life by drying out the foam cores. This process requires patience and care but can be an effective short-term heavy spa cover fix.
Important Note: This method is not a permanent solution. If the vapor barrier is breached, the foam will eventually become waterlogged again.
What You’ll Need:
l A dry, warm, and shady day
l A clean, dry space (garage, covered patio, or basement)
l Several old towels
l A circulating fan or dehumidifier (optional, but helpful)
The Process:
1.Careful Disassembly: Place the spa cover on a clean, flat surface. Locate the zippers on the vinyl jacket, which are usually along one of the edges. Carefully unzip the jacket to expose the foam cores inside. Be gentle, as the zipper and surrounding vinyl can become brittle over time.
2.Gentle Foam Removal: This is the trickiest part. The waterlogged foam core will be heavy and awkward. Gently slide the foam out of its vinyl sleeve . Do not bend or force it, as wet foam is more susceptible to cracking. Pay close attention to the plastic vapor barrier surrounding the foam; if it's torn, that is the source of your problem.
3.Remove Excess Surface Water: Lay the foam cores on the ground. Use towels to pat down the entire surface of the plastic-wrapped foam, absorbing as much standing water as possible .
4.Promote Air Circulation: Stand the foam cores up on their longest edge. This maximizes the surface area exposed to the air and allows water to drain downward with gravity. Lean them against a wall in a well-ventilated, protected area like a garage or covered porch . Placing a fan or a dehumidifier nearby will significantly speed up the drying process by circulating air and pulling moisture out .
5.Avoid Direct Sunlight and High Heat: This is a critical warning. Never place the foam cores in direct sunlight to dry . The intense UV rays can quickly degrade and damage both the foam and the plastic vapor barrier. Likewise, do not use a space heater or any form of high-heat drying, as this can warp or melt the materials . Patience is your only tool here.
6.Allow Ample Drying Time: The process to dry out hot tub cover foam is not quick. Depending on the level of saturation and the ambient humidity, it can take anywhere from a few days to over a week for the foam to dry out completely . You can check the progress by periodically trying to lift the cores; you will feel a noticeable difference as the water evaporates.
7.Inspect and Reassemble: Once the cores feel significantly lighter and you can't feel any moisture, they are ready. Before reinserting them, this is an excellent opportunity to clean the inside and outside of the vinyl jacket with a recommended vinyl cleaner. Carefully slide the dry foam cores back into the jacket and zip it closed.

5.The Point of No Return: When a Heavy Spa Cover Fix Means Replacement
While drying a cover can sometimes work, it is often a temporary measure. In many situations, the time, effort, and potential for further damage make replacement the only logical and cost-effective choice. The decision to replace isn't based on a specific weight-gain percentage, as no official industry standard for this exists . Instead, it's based on a practical assessment of the cover's condition.
You should bypass the drying process and purchase a new cover if you observe any of the following:
1. The Foam Core is Structurally Compromised (Broken or Sagging)
If the foam core is cracked, broken, or has a permanent sag, drying it out will not restore its structural integrity . A broken core cannot create a proper seal on the edge of your spa, leading to massive heat loss. It also cannot support any weight, such as snow accumulation, which could cause it to collapse into the tub. Once the foam's structure is gone, it is beyond repair.
2. The Cover is Dangerously Heavy
If the cover has become so heavy that you risk injury when lifting it, or if the central hinge seam groans and tears under the strain, the saturation level is too severe . Attempting to remove and dry foam cores of this weight is impractical and risks breaking them into pieces, making reassembly impossible.
3. The Vapor Barrier is Decimated
When you remove the foam, inspect the plastic vapor barrier. If it has large rips, is crumbling to the touch, or is extensively damaged, any attempt to dry the foam is futile . The core will simply become saturated again within weeks. While some dedicated DIYers attempt to re-wrap the cores with new plastic, it's a difficult process to get a perfect, factory-level seal. For most owners, a heavily damaged barrier is a clear sign that the cover’s useful life is over.
4. A Powerful, Unshakeable Odor
A faint musty smell might air out during the drying process. However, if the waterlogged hot tub cover emits a strong, pervasive odor of mold and mildew, it indicates a deep and established colony within the foam . This is not only unpleasant but can also pose a health concern by releasing mold spores into the air every time you open the cover. It is nearly impossible to fully sanitize a porous foam core, making replacement the healthiest option.
5. Old Age and General Deterioration
A quality spa cover typically has a lifespan of three to five years, depending on climate and care . If your cover is in this age range and is showing signs of being waterlogged, it's simply reached the end of its life. The vinyl is likely becoming brittle, the stitching is weakening, and the vapor barrier has failed due to age. Investing time and effort into drying an old, worn-out cover is a poor return on investment.

6.Making the Right Choice for Your Spa and Your Wallet
Dealing with a heavy, waterlogged hot tub cover is a frustrating but common part of long-term spa ownership. Your decision to repair or replace hinges on an honest assessment of its condition.
l Attempt to dry the cover if: The waterlogging is mild to moderate, the foam cores are still structurally intact, there are no strong odors, and the cover is relatively new. This can be a worthwhile heavy spa cover fix that buys you more time.
l Invest in a replacement if: The cover is dangerously heavy, the foam is broken or sagging, the vapor barrier is destroyed, or a powerful musty odor persists. In these cases, replacement is not just a recommendation; it is the most practical, safe, and energy-efficient solution.
A new, lightweight, and highly insulative cover will not only save your back but will also lower your energy bills, protect your spa investment, and make your relaxation time that much more enjoyable.